While cooking meals at home might not always be the best decision from a cost-benefit standpoint (some dishes take a long time to make and restaurants can take advantage of economies of scale), a great thing to do is to bulk meal prep for your weekday meals. You will save money by eating out less and also eat healthier foods compared with eating out. I will preface this entire blog by saying: if eating out is meaningful to you, then keep doing it! What you should eliminate is eating out purely for convenience or lack of preparation in meal planning. If you’re reading this blog, you are trying to become more financially savvy, and odds are you know that you shouldn’t eat out if you want to save money. However, sometimes you “can’t help it” because it’s so convenient. If you have a healthy, delicious, and almost ready-to-eat meal at home, you’re so much less likely to eat out! Let’s discuss some ways you can achieve that without breaking the bank or taking up too much of your time:
- Cook in bulk. Invest in bigger roasting trays, bigger pots, etc. It will help you scale up and thus make your meal prepping time more efficient. If you need to keep things as affordable as possible, go to a restaurant supply store. Their kitchenwares tend not to be the prettiest, but they are utilitarian and designed for use and abuse in a commercial kitchen. Alternatively, buy your big-ticket items from wholesale clubs like Costco or Sam’s Club.
- Buy vegetables with longer shelf lives. Raise your hand if you’ve ever had to throw out fresh foods that you bought ambitiously on a Sunday afternoon because it went bad after leaving it in the crisper for the entire week. If you can’t find time to eat these foods, at least buy foods that are more shelf-stable. For example, fresh broccoli and carrots last longer uncooked in the fridge than spinach and mushrooms. Alternatively, you can buy frozen; though, I don’t love the texture of previously frozen vegetables. Your tastes may vary!
- Simple but well-executed food tastes better than complicated but poorly executed food. Anyone who knows me in real life knows that I love to cook (hence this blog post), and they know that while I enjoy making fancy and complex dishes for special occasions, I do the basics well. I’m sure that some of my friends might think that I cook fancy food each week for meal prep, but most of the time it’s simple food that is executed well. It can be as simple as baking a piece of salmon to just the right temperature so that the texture is perfect and not overcooked (so that it’s still moist two days later when you reheat it). Nothing bothers me more than when people poorly execute complicated dishes when a simple dish done well would have tasted much better.
- Get a food thermometer. Overcooked food tastes bad and a thermometer is inexpensive. A Thermoworks probe is $15 on Amazon. There are few culinary sins worse than overcooking a giant batch of chicken because you didn’t have a thermometer. It’ll be hard to eat and frankly not taste good. Then you’ll be more inclined to eat out to avoid eating your rubber poultry. To add salt to the wound, overcooked food just gets even more dry when you reheat it!
- Pro tip: know how to save overcooked foods: turn it into tacos! Shred it, add sauce, toppings, and bingo!
- Get a vacuum sealer. This helps you preserve food for longer in both the refrigerator and the freezer. In the fridge, it eliminates air (thus eliminating oxidation) and increases the lifespan of your food in the fridge by a couple of days compared with normal storage methods. In the freezer, vacuum sealing prevents freezer burn, thus preserving texture.
- If you want to go the extra step, get a sous vide machine so you can reheat vacuum sealed food. They are water circulators which you can choose the water temperature for. It gently and evenly reheats your food, unlike a microwave; and, unlike an oven, retains all the moisture in the vacuum-sealed bag.
- Premake your seasoning mixes (or buy premade seasonings on sale). Taking out one seasoning versus six is marginally easier and removes a barrier to the already challenging task of meal prepping on a Sunday evening before a long week of work. In general, pre-made seasonings are king. People always ask me what I season my food with, and I just tell them whatever generic seasoning was on sale at the store at the time. Food cooked with the right technique will taste good with pretty much any seasoning. You can use this same philosophy for sauces but beware that certain sauce combinations have shorter shelf lives than other premixed sauces.
- Have a go-to meal for the week that you can make with your eyes closed. That way, when you are having a low-effort Sunday, you can go to the store and mindlessly throw things in the cart without having to exert energy to decide what to make and how to make it. For me, it’s baked chicken thighs, brown rice, and steamed broccoli.
- Have an emergency meal in your freezer. If you forgot to meal prep this week or had to reschedule it to another day, an emergency meal in the freezer is essential. It can be anything that is good enough to keep you from making that fast food run. For me, it’s frozen ravioli with jarred tomato sauce and a bag of frozen broccoli. It’s not Michelin star food, but it’s healthier, cheaper, and faster than getting takeout!
Keep in mind that cooking will require time, so focus on making dishes that are fast and easy. You may even consider making recipes that don’t require a lot of hands-on time, such as a stew in a slow cooker or something that sits in the oven like a roast. The benefits of cooking your own food extend beyond financial gain; the food you cook yourself is healthier too, which will benefit your life but also your financial future by requiring fewer healthcare costs. Most importantly, focus on making dishes you enjoy preparing and eating as much as possible. The more you “enjoy” cooking and eating what you make, the more likely you are to stick with your plan!
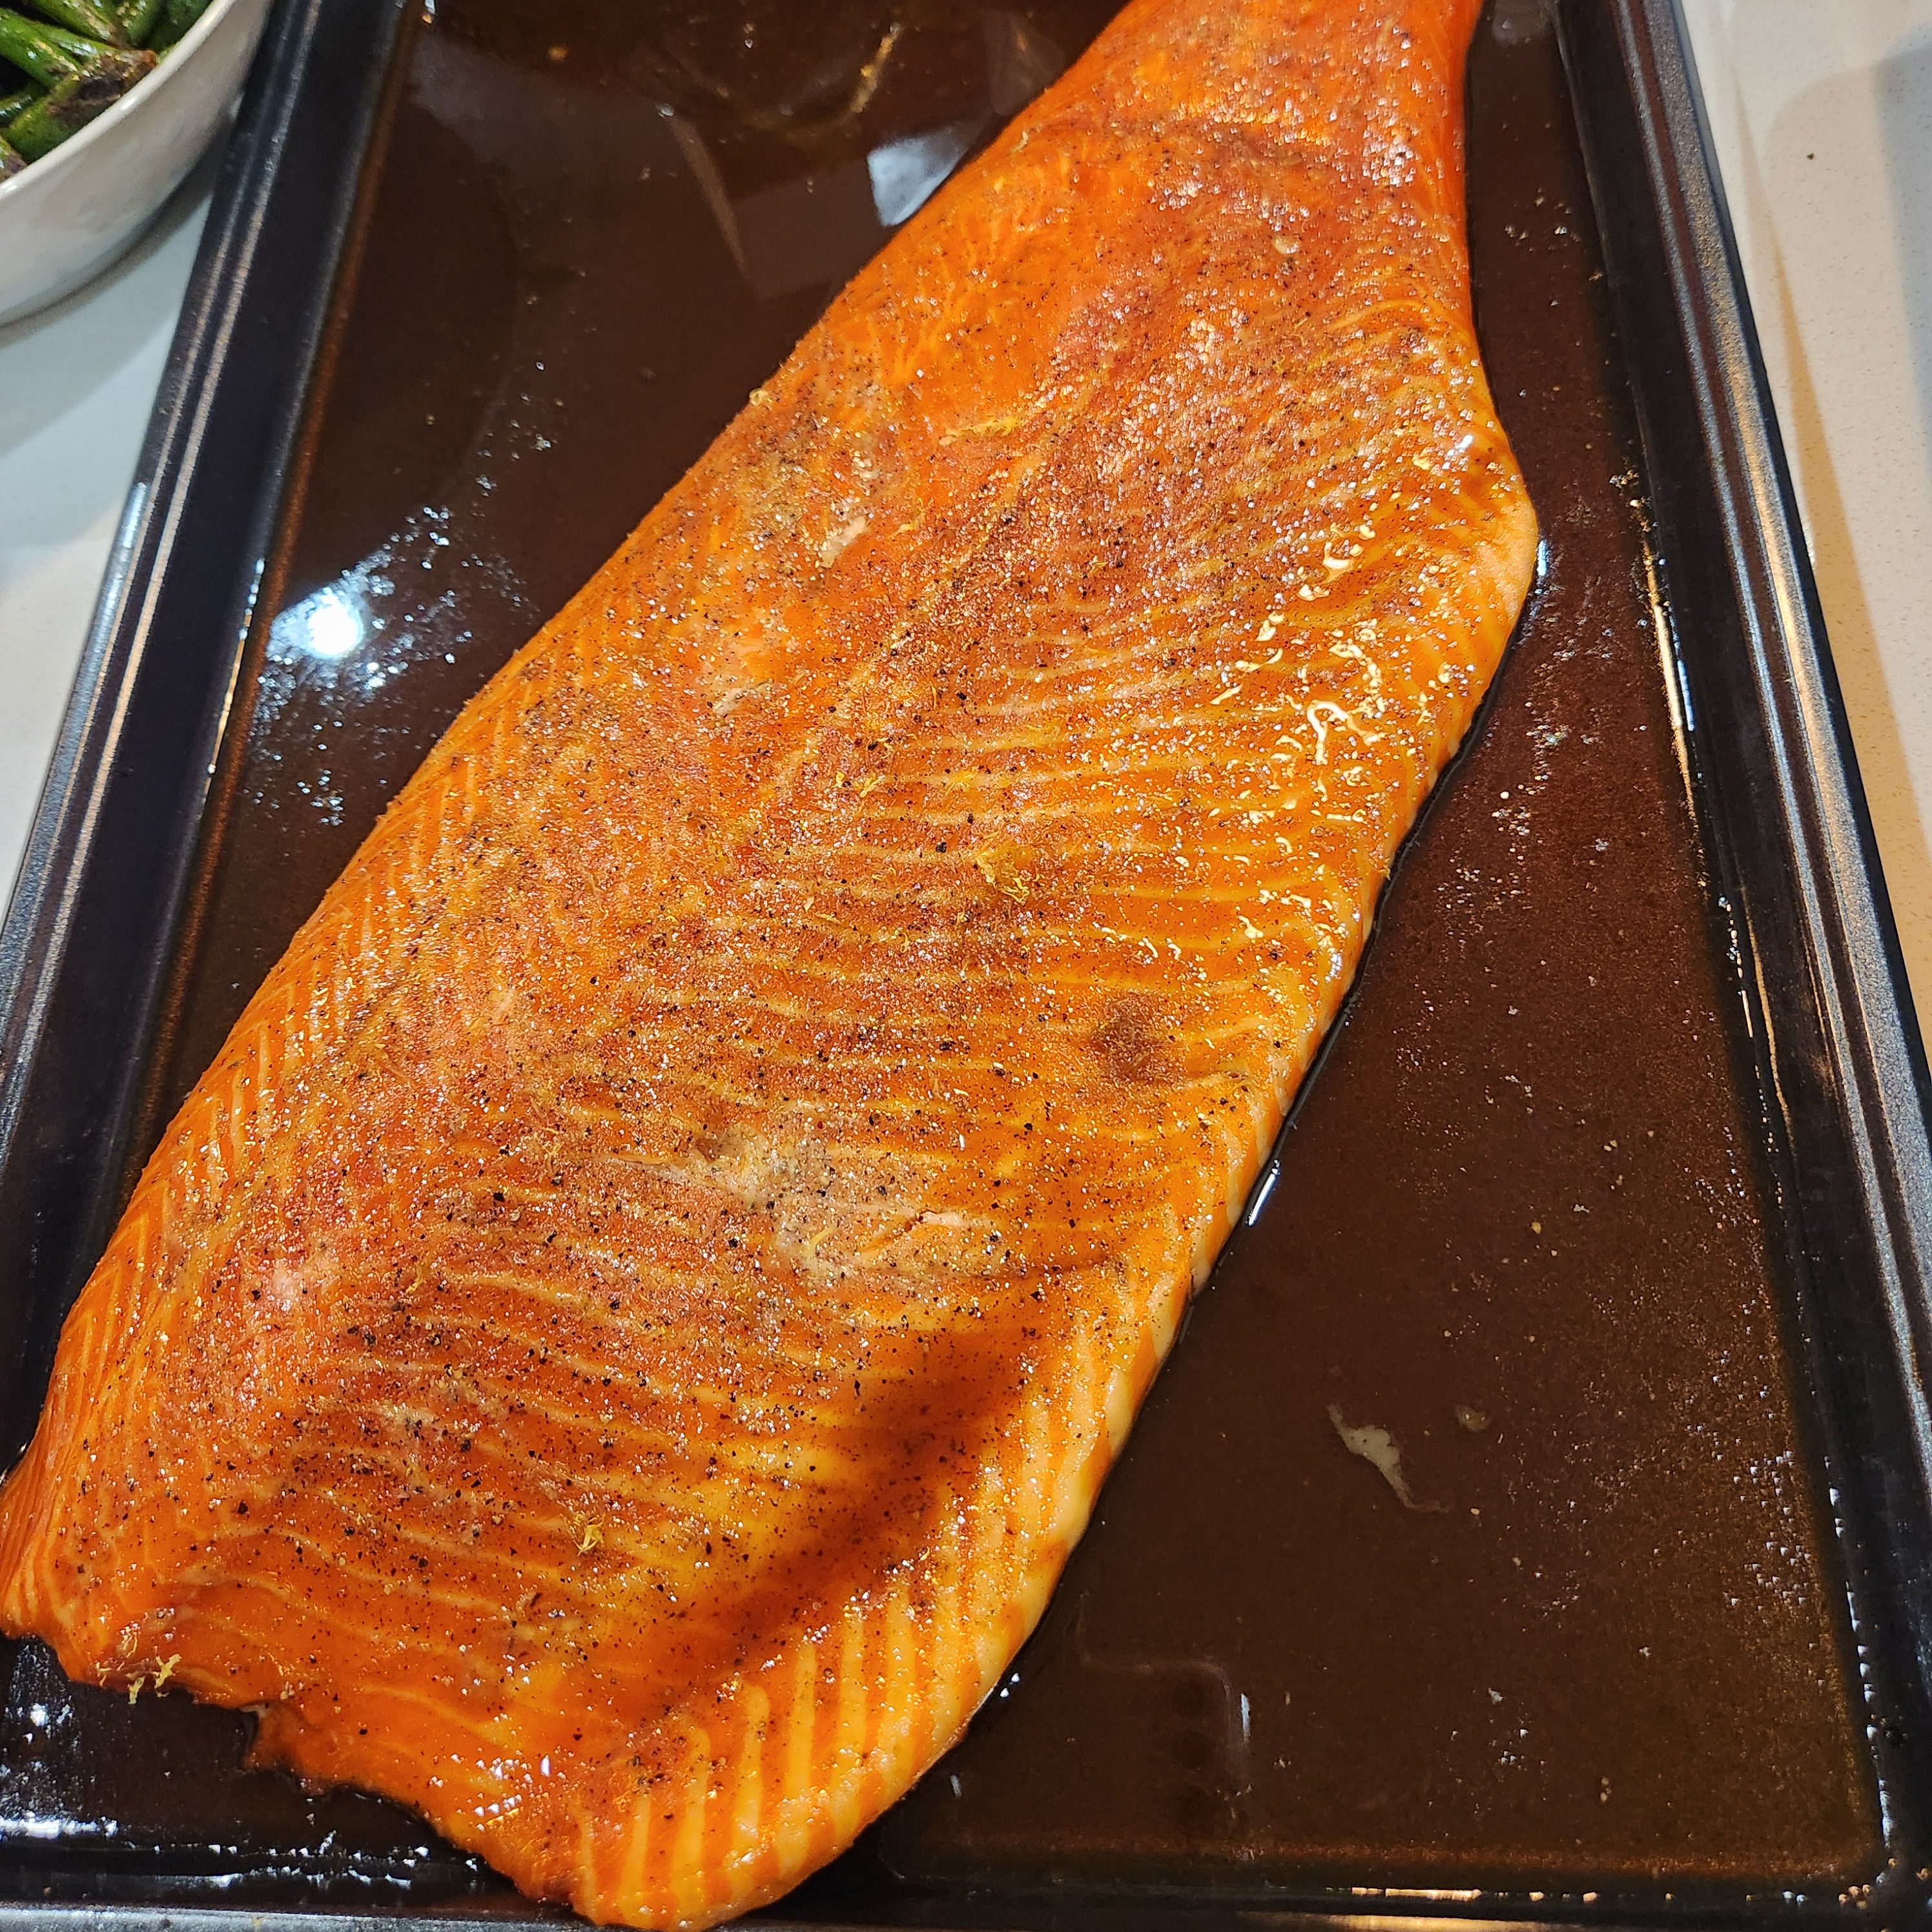
A simple recipe for your weekly meal prep: Baked Salmon with Honey Glaze
Ingredients
- Salmon fillets (skin on, scaled if you want to eat the skin) (4-6 oz each)
- Glaze: soy sauce, honey, pinch of pepper, pinch of corn starch (optional)
- Olive oil or butter
- Seasonings: salt, pepper, garlic powder, lemon (optional)
Steps
- Take salmon out of the package. Do not rinse. If you must rinse it, pat it dry afterwards. If it’s not already cut, cut into pieces that are 3-4 inches wide
- Preheat oven to 350F
- Salt the skin side of your salmon
- Place your salmon skin side down on a baking sheet lined with aluminum foil and oil/butter
- Season the top and sides with salt, pepper, garlic powder
- Place 1 pat of butter on top of the salmon
- Place the salmon in oven for 8 minutes
- During this time, prepare the glaze. Combine soy sauce (1 tbsp) and honey (2 tbsp). Add black pepper, and a pinch of corn starch (~1/4 tsp). Mix it well
- After 8 minutes has elapsed, take out salmon and slowly spoon glaze on each piece
- Bake for an additional 5 minutes or until you are 10°F below your target temperature, then broil on high for 1 minute
- Take salmon out and let it rest for 5 minutes. Spoon over glaze from your baking sheet
- Finish with fresh lemon if you’d like
Additional Info
- Do not season your salmon ahead of time. Combining salt with fish for an extended period of time causes the fish to cure
- Internal temperatures: 120°F rare, 125°F mid-rare, 130°F medium, 135-140°F mid-well, 140-145°F well done
- If you will be reheating this throughout the week, cook it to 5°F less than you would normally eat.
- No need to take your salmon out of the fridge ahead of time. Salmon is thin so it cooks quickly anyways
- You will not eat the skin of the salmon (unless you want to), it’s just to protect the bottom from sticking to the tray and keep it juicy

Leave a comment